If you’re in need of some DIY wedding inspiration, you can skip Pinterest for today—and get to know South Carolina bride CJ Knighten instead.
CJ, who blogs at The Picket Fence Blog, was on a mission to save big bucks on her fall wedding to her husband, Drew, held at The Peanut Warehouse in Conway, South Carolina.
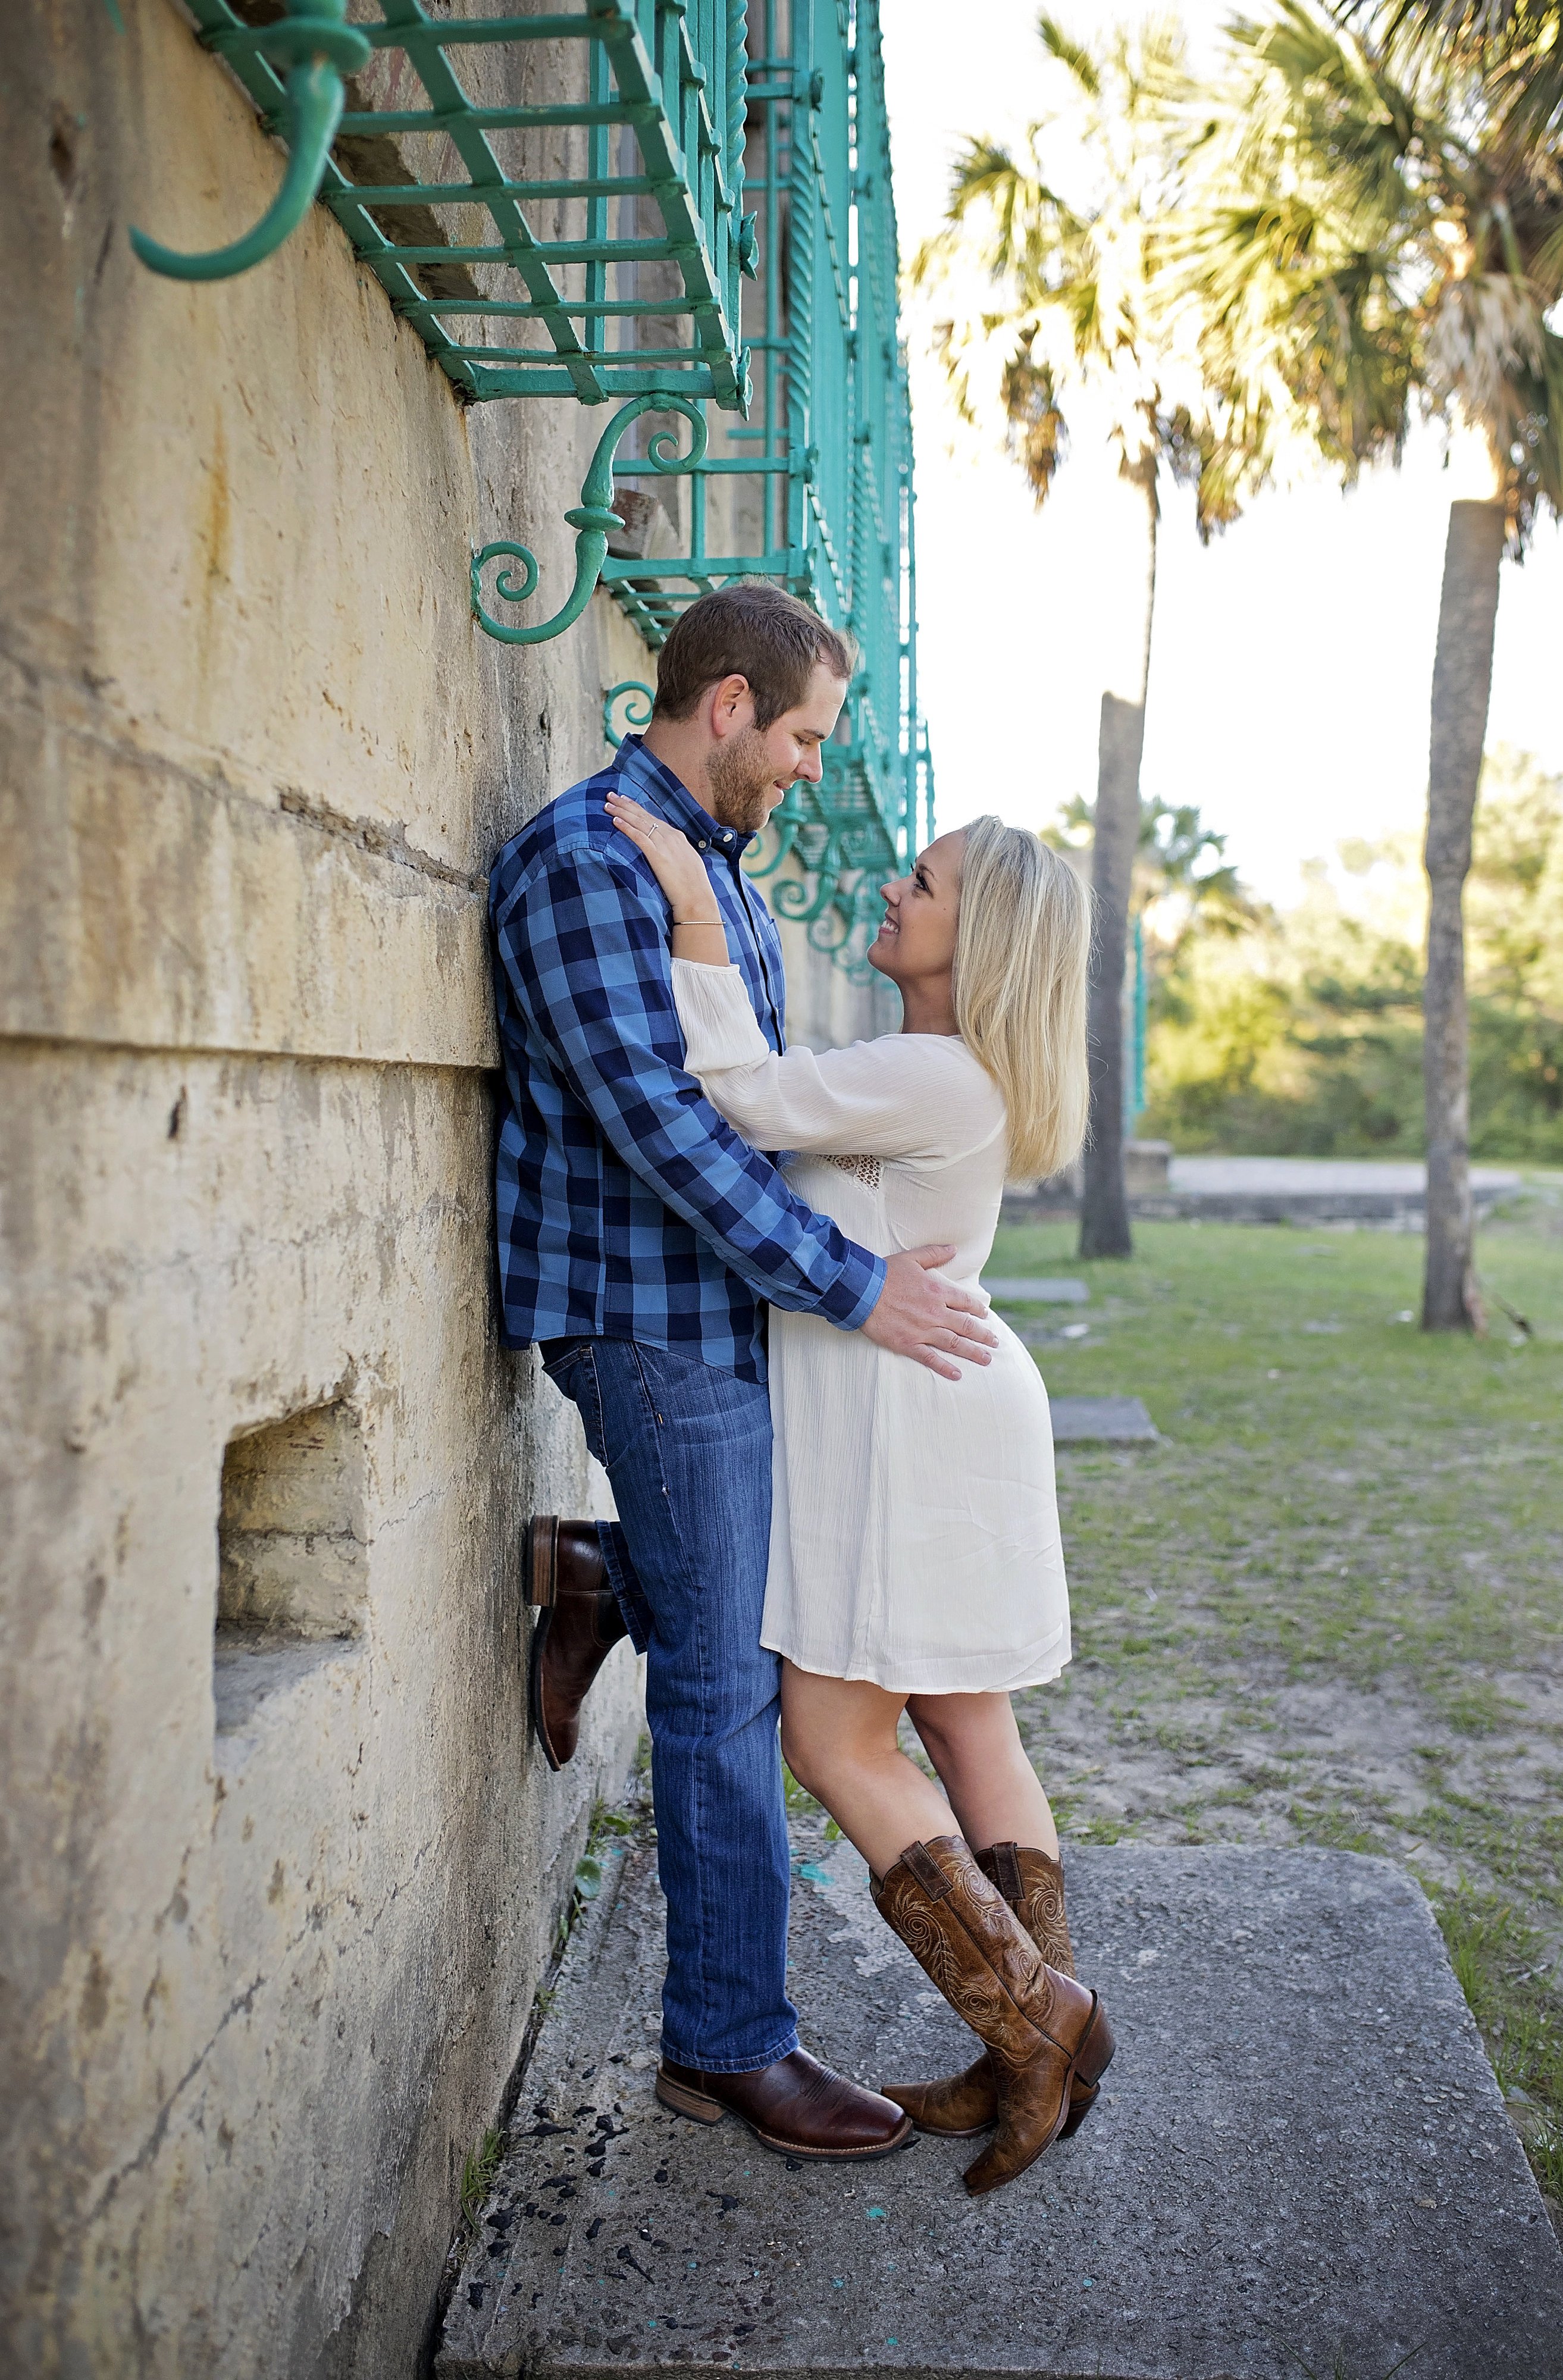
Photo credit: Mary Gardner Photography
“We initially had no idea what a wedding would cost, so we agreed that $5,000 would be a safe budget,” she says. “But once we started visiting the venues we imagined our perfect wedding could take place at, we learned that the venue costs alone ranged from $3,000 to $10,000. Clearly, we needed to re-evaluate! We set our new budget at $15,000, and I knew I was crafty enough to do half of the things we wanted for our wedding at half the cost.”
Crafty, indeed—CJ estimates that going the DIY route, combined with careful budgeting, saved the couple between $5,000 and $10,000 on their wedding.
“I didn’t watch any tutorials; everything I made was something I just crafted or was inspired by a Pinterest post,” she says. “Michaels and Walmart were a huge source for my supplies.”
Check out CJ’s DIY projects below for some serious wedding-on-a-budget inspiration.
Save the Dates and Invitations
The couple set the tone for their wedding with custom-made, hand-stained, wooden save the dates—a big project that took some experimenting to perfect.
“My stepdad cut wood chips and wet them so they wouldn’t crack,” says CJ. “They had to be thick enough not to crack or bend, but thin enough to fit in the mail.”
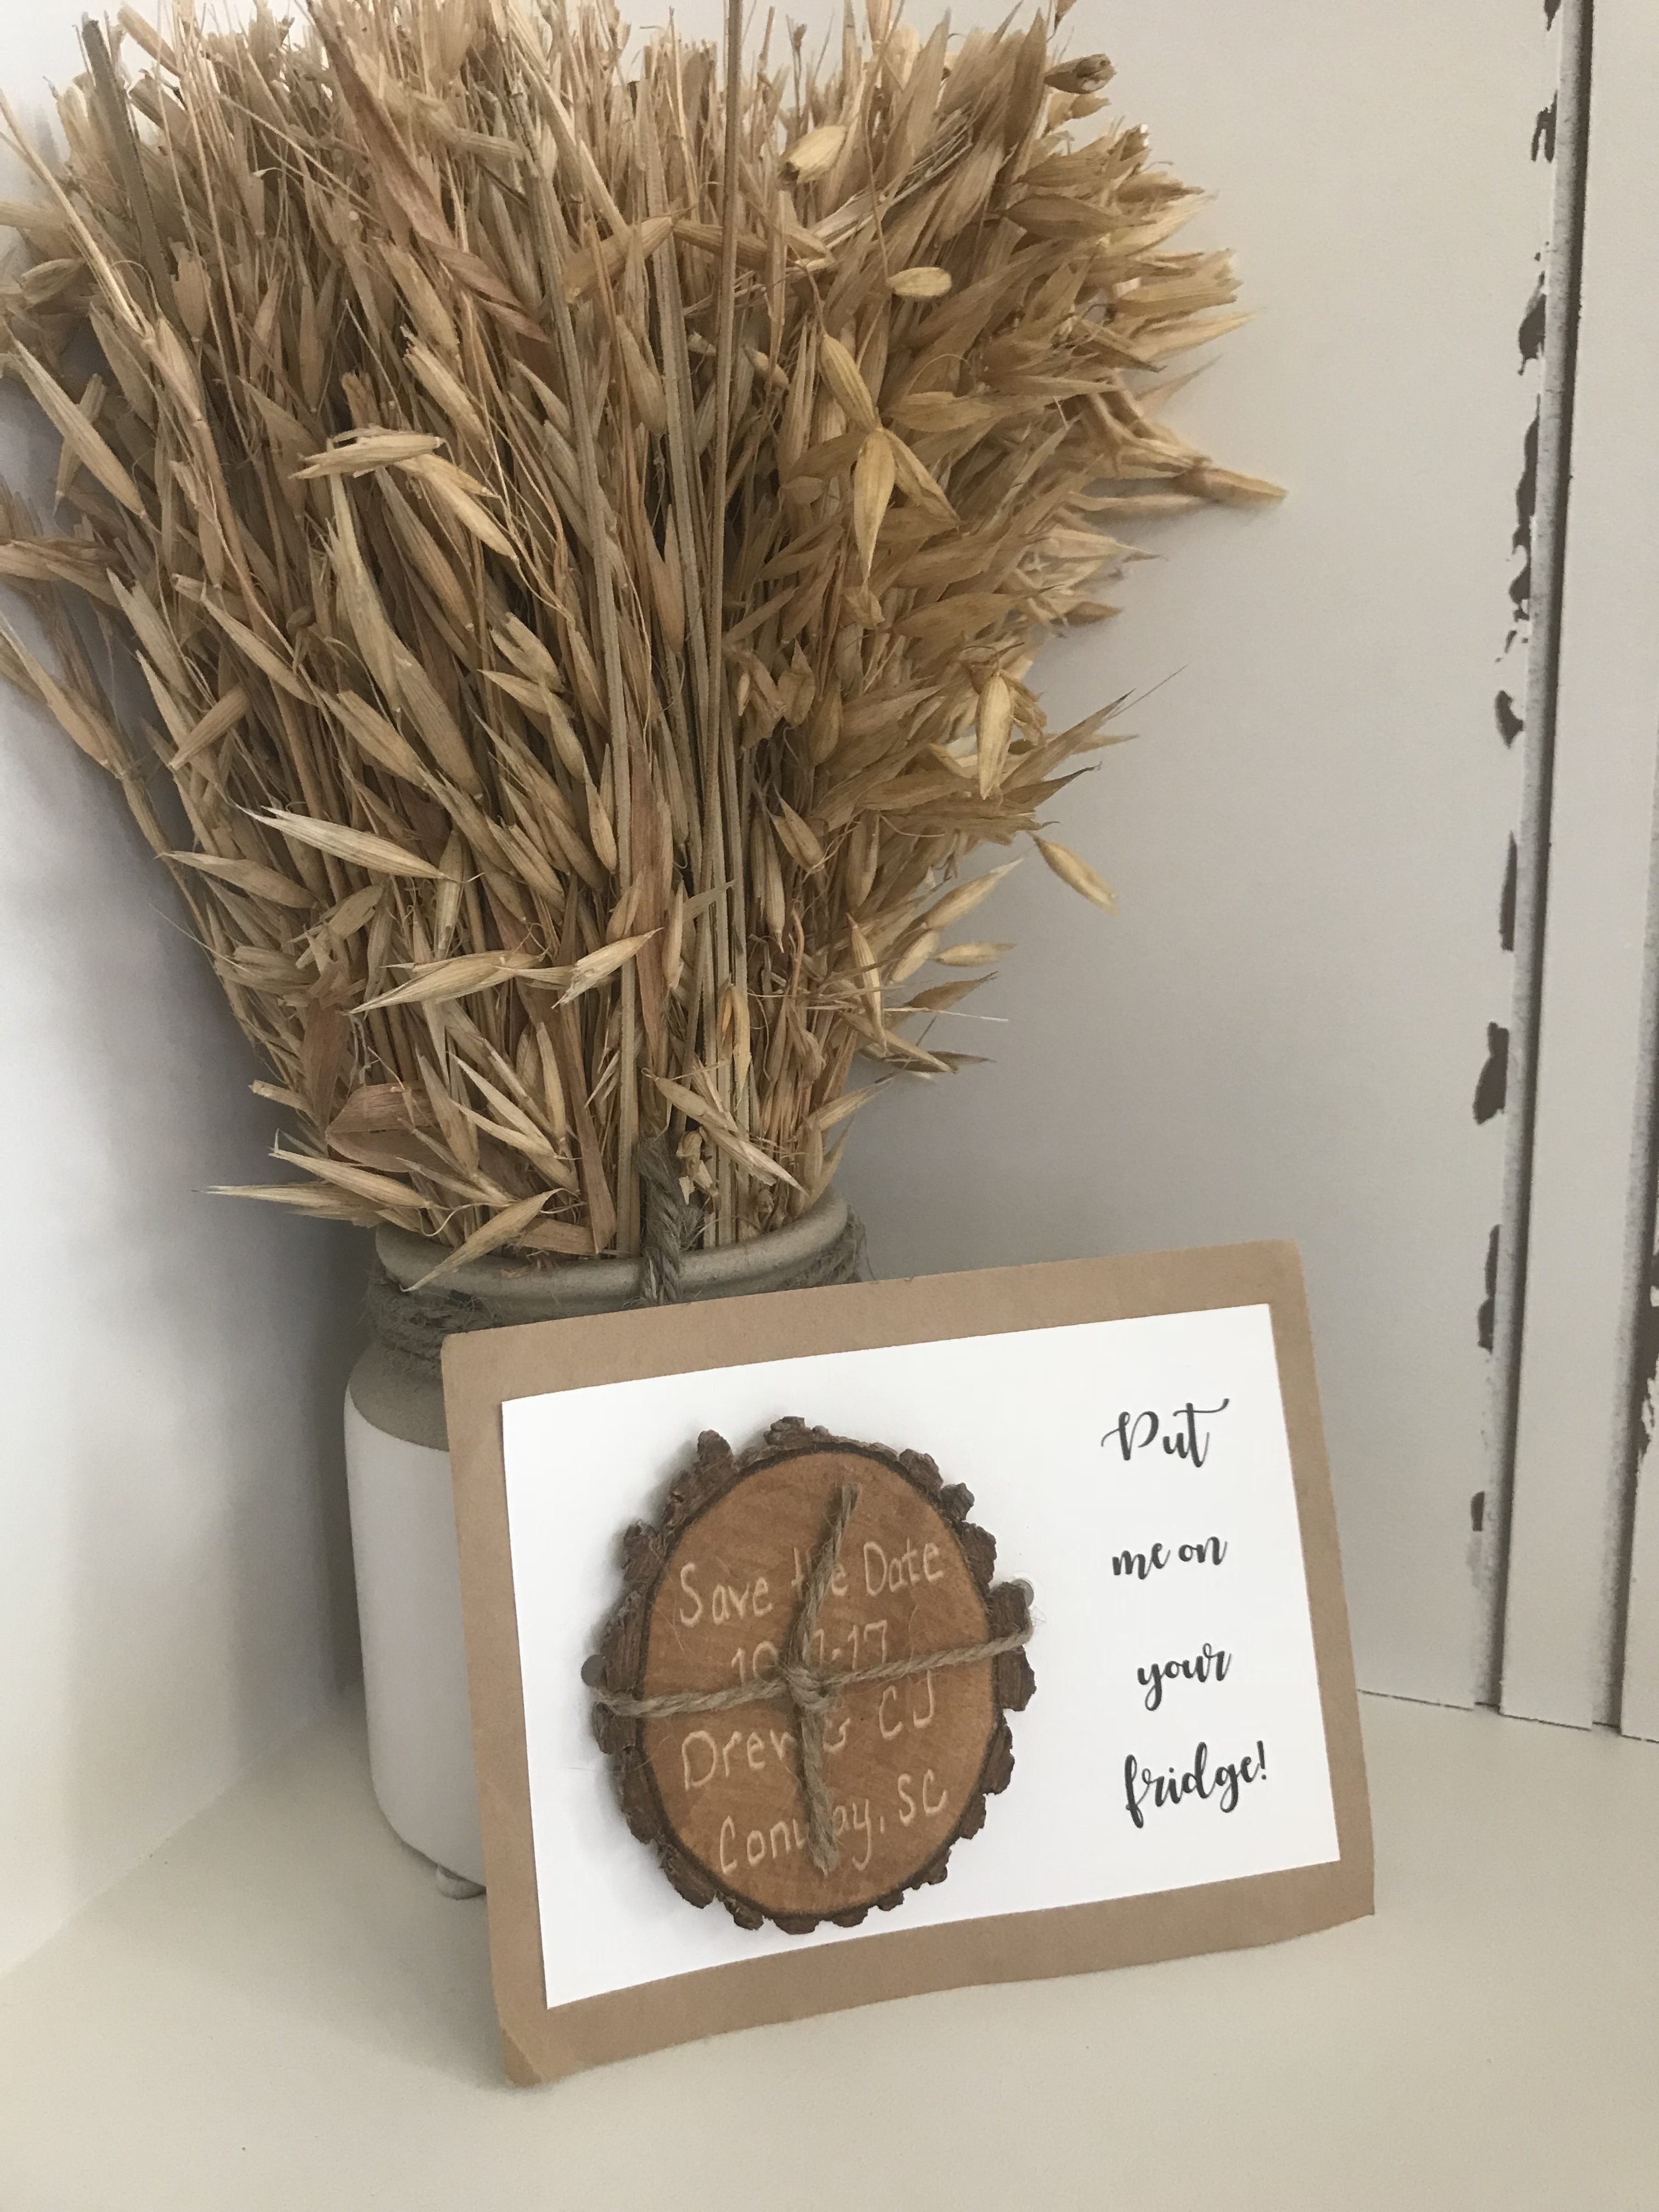
Photo credit: Picket Fence Blog / Instagram @cj_knighten
Once finalized, the wood chips were carved with the wedding details, and affixed to cardstock. The total cost: $20 for supplies including glue, paint, and magnets.
Recreate the Look
Invitations for the big day were made with cardstock from Target, Mod Podge, and envelopes from Walmart, for a total cost of approximately $20—a huge savings compared to the $2 per invitation cost CJ found advertised on some wedding websites.
“If you are crafty and have a printer and cutting tool, I highly suggest DIY invites,” she says.
Decor
A little clearance shopping paid off big time when it came to the couple’s table numbers and reception centerpieces.
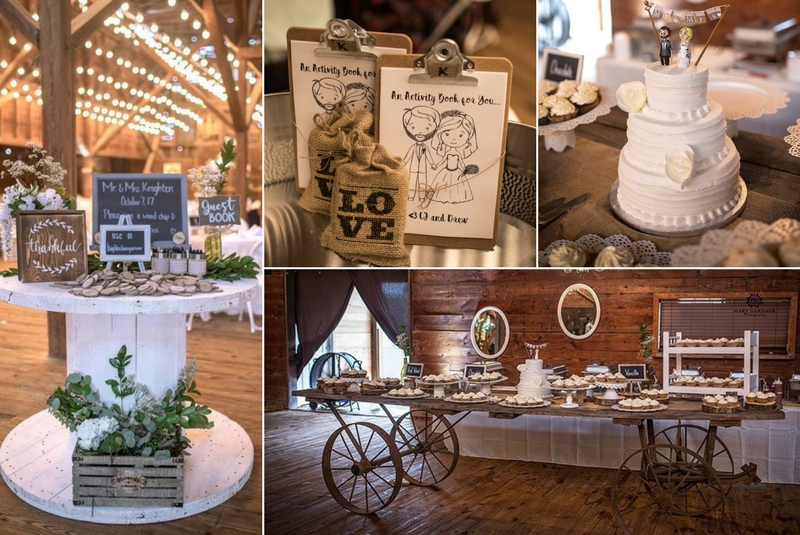
“We bought 20 easels for $1.99 each, at 75 percent off, and wrote the table numbers on them,” says CJ. “Each table also had a basket, birdcage or wooden barrel bucket as the centerpiece, all purchased at 60 percent off. We purchased flowers from Sam’s Club that we put into each of the centerpieces ourselves: birdcages had greenery, wooden barrels had baby’s breath, and the baskets had an arrangement of white and green floral.”
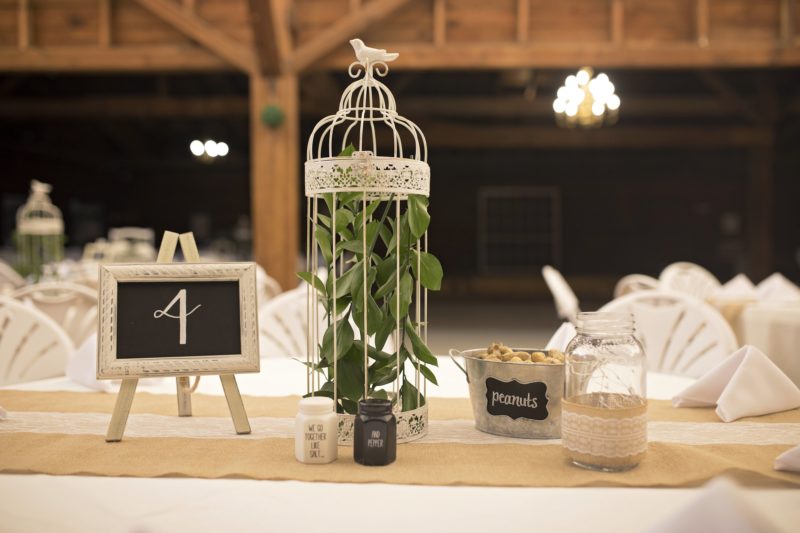
Photo credit: Mary Gardner Photography
Recreate the Look
Other fun touches came from tin buckets of peanuts placed on the reception tables (in a nod to the venue’s name), pickle jars lined with burlap, and hand-filled salt and pepper shakers with a cute message.
With all of the decor, CJ and Drew found that they needed a creative way to add more space to display their decor, pictures, photo booth props, as well as a gift table—and large, wooden spools were just the trick.
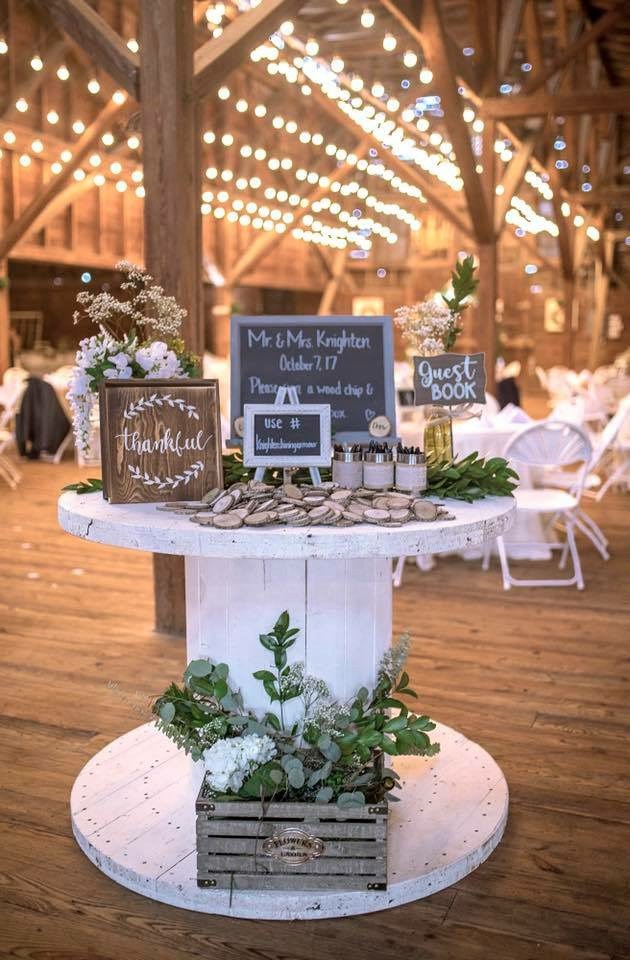
Photo credit: Mary Gardner Photography
“Drew was able to get five free wooden spools from his job,” says CJ. “I highly suggest this budget-friendly idea. Go to a construction site that may be willing to give them away or sell them for cheap. We painted ours white to give them a bridal touch—they have the perfect rustic look.”
The couple also brought in a few additional Goodwill finds, including two large circular mirrors purchased for $2.99 and painted white to match the feel of the venue, as well as a $4.99 rustic shelf used to display cupcakes. And as a finishing touch, CJ and Drew hand-built matching framed wreaths that hung on each side of the sweetheart table, at a cost of around $25 for both (and which hang in their home now!)
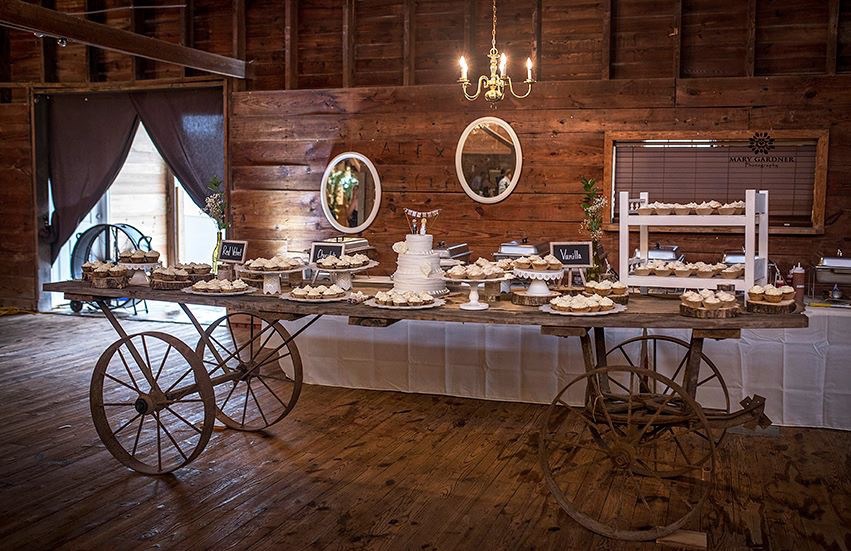
Photo credit: Mary Gardner Photography
Recreate the Look
In another budget-savvy move, after the wedding the couple sold their decor on their local Facebook Marketplace, making their money back.
Guestbook
For the guestbook, CJ’s stepdad cut down a tree (yes, really!) to create 250 wood chips for the guests to sign; empty tins from canned goods were wrapped in burlap to hold markers for the guests to use. Once signed, the wood chips were added to a rustic box purchased at a discount from Michaels.
Favors
“We had three favors for our guests: We bought koozies, grew succulents, and made coloring books for the kids,” says CJ.
For the koozies, CJ’s mom drew an adorable cartoon sketch of the couple, who then worked with an online promotional products company to create the finished product: the cartoon on the front, and the phrase, “So I can kiss you anytime I want” on the back.
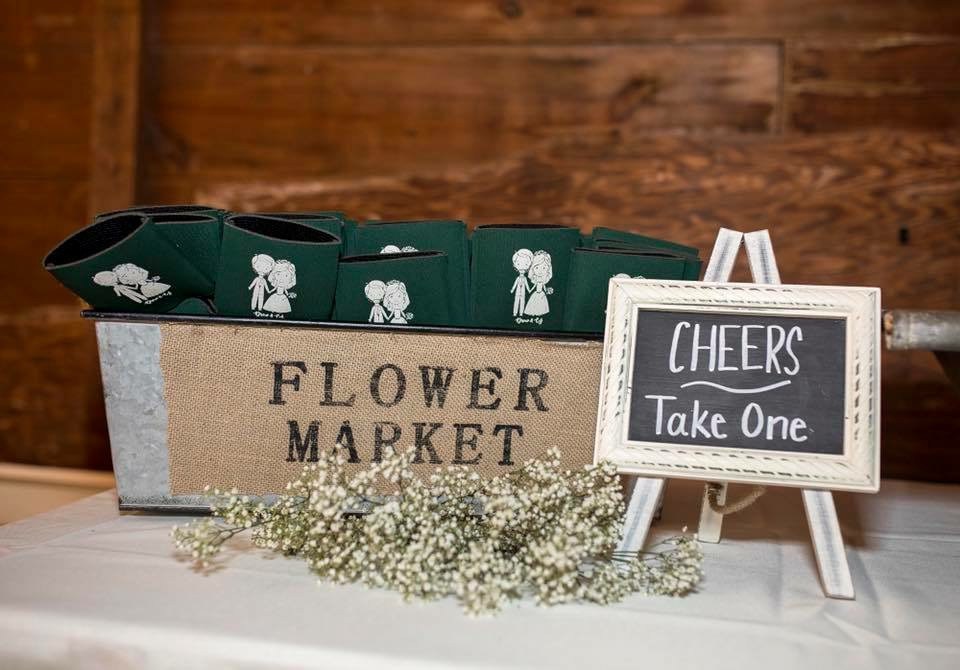
Photo credit: Mary Gardner Photography
These artistic skills also came in handy for the children’s favor: handmade coloring books on clipboards, accompanied by mini burlap bags filled with crayons. “We made 20 coloring books, expecting around 10 kids, and yet they were all gone by the end of the wedding,” says CJ. “I’m guessing a few of the adults were digging the coloring books as well.”
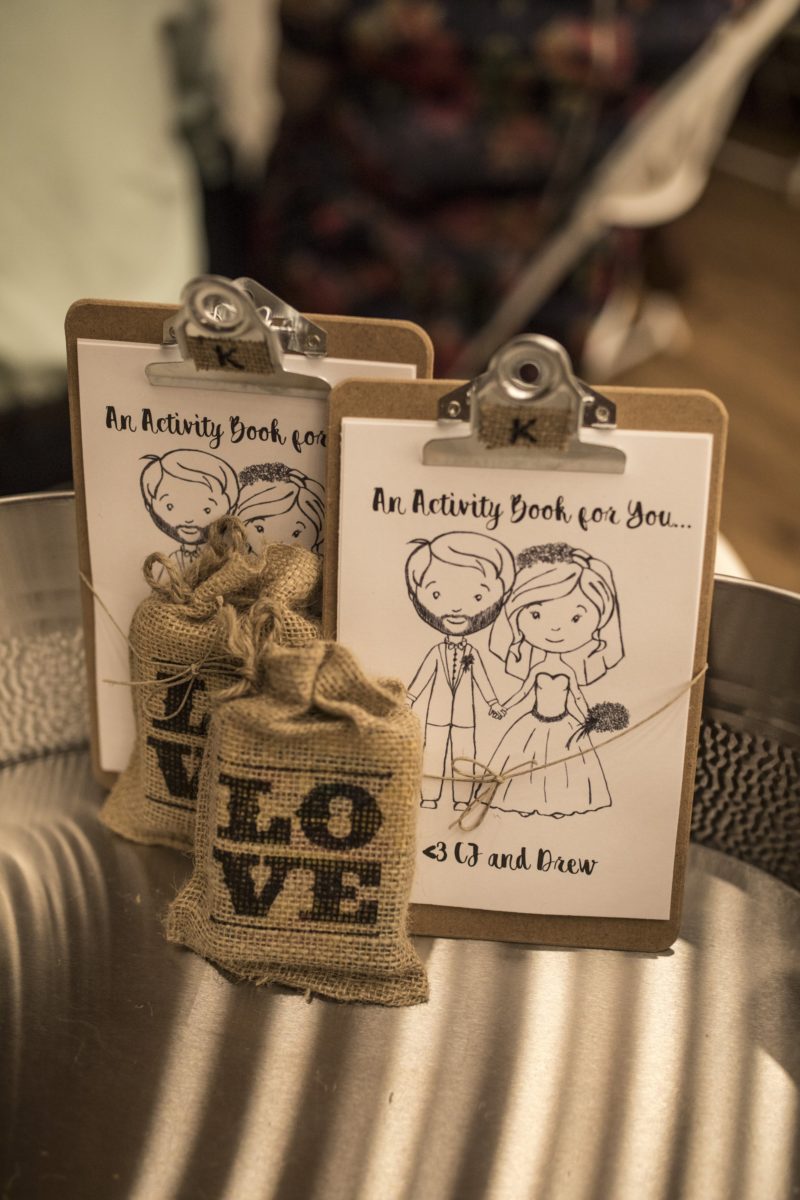
Photo credit: Mary Gardner Photography
Recreate the Look
During the course of the couple’s 10-month engagement, CJ propagated 400 succulents to serve as the couple’s third wedding favor option. The night before the wedding, the bride and her mother planted the succulents in white teacups purchased from Goodwill for only $.40 each, bringing the total cost of this favor to approximately $100. CJ’s stepdad also built three shelves to display all of the succulents; after the wedding, the shelves were reclaimed by the bride and her family for use as potting stations for gardening.
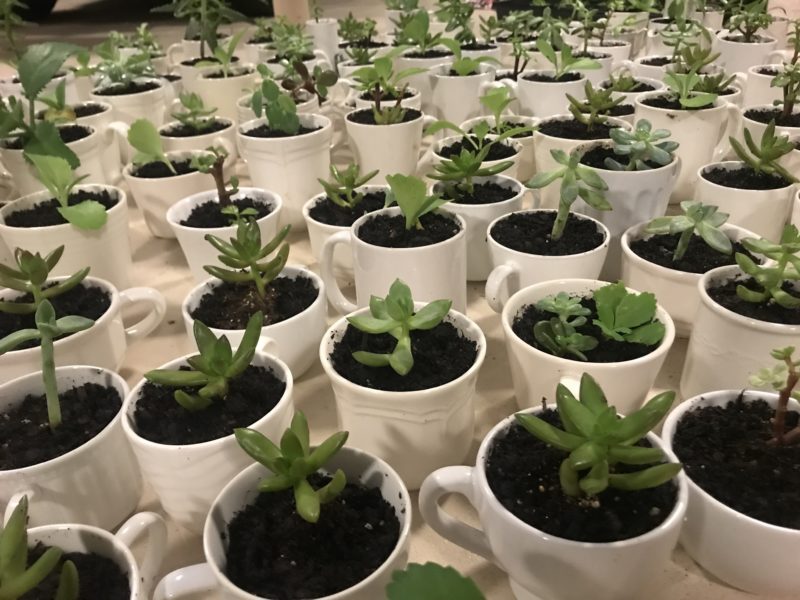
Photo credit: Picket Fence Blog / Instagram @cj_knighten
“Propagating the wedding favor succulents was my favorite DIY project,” she says. “It was a lot of fun searching for cute tea cups from Goodwill and watching all of the plants grow for our big day.”
Desserts
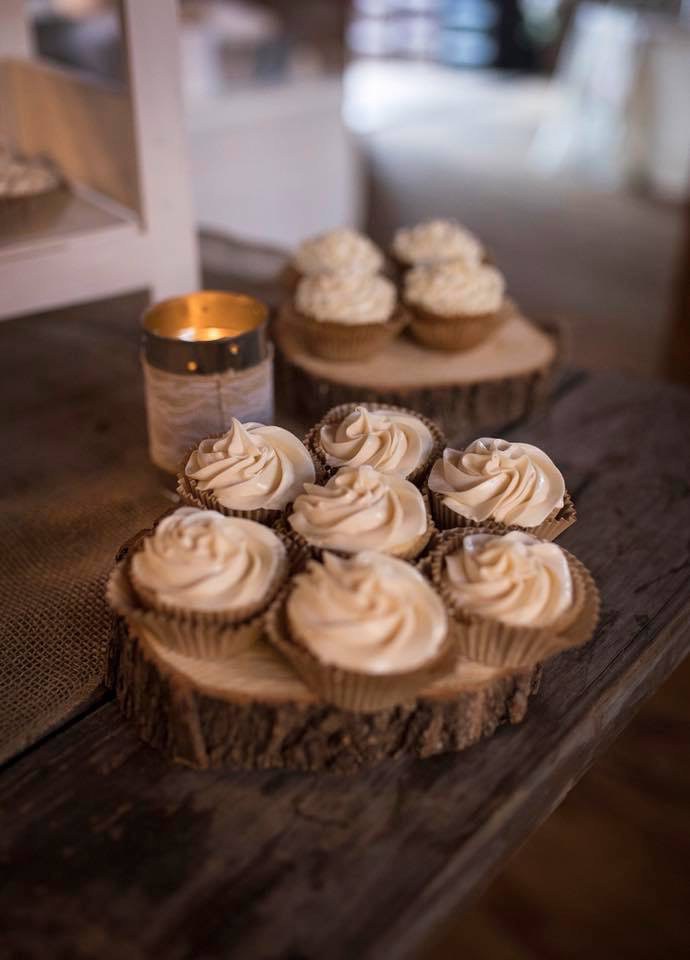
Photo credit: Mary Gardner Photography
“Drew and I aren’t big fans of being the center of attention, so we decided to serve cupcakes rather than a cake,” says CJ. However, quotes from local bakeries of $3 to $4 per cupcake made that a pricey option for their guest list of 220. The couple enlisted the help of CJ’s sister, who baked more than 300 cupcakes for less than $50. The couple also ordered a small, three-tier cake for $50 from Sam’s Club to save for themselves for later—and which they topped with bride and groom dolls, again decorated by CJ’s mother (she’s really, really talented!) and purchased for just $4 from Michaels.
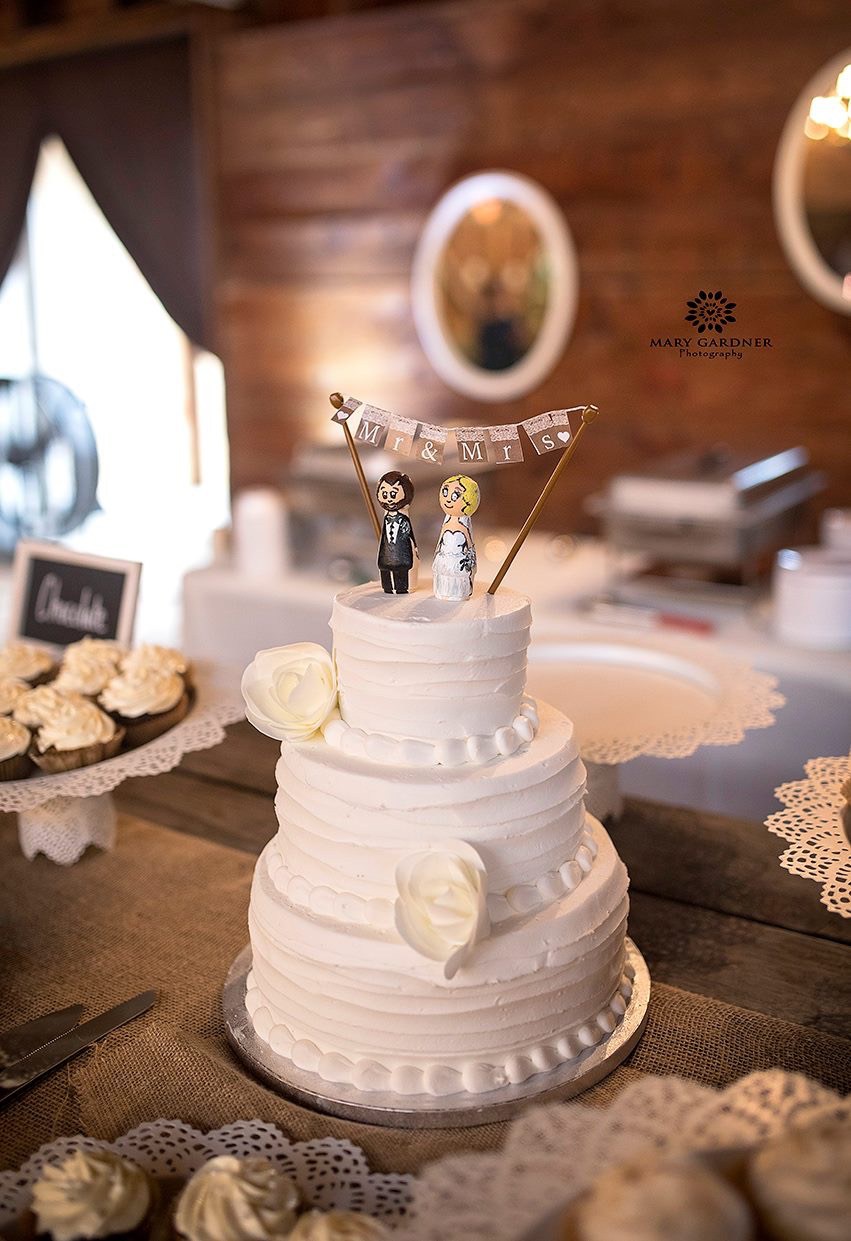
Photo credit: Mary Gardner Photography
Recreate the Look
Are you totally inspired now and ready to get started DIY’ing your own wedding (and can’t be adopted by this super talented family)? CJ says, “Do it! DIY is not only a lot of fun, but also makes each wedding detail feel even a little more special and personable.”
Follow CJ at The Picket Fence Blog and on Instagram.


